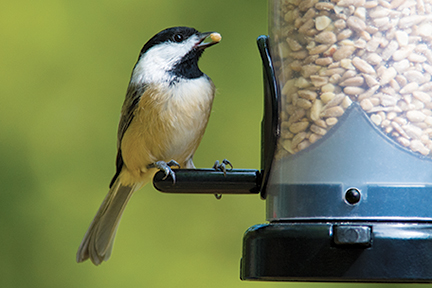
CLEANING YOUR ELIMINATOR
Perhaps the only negative aspect of our Eliminator is that you may not realize how dirty it may be. We'll often have customers bring in a "broken" feeder, and during the inspect and repair process, we find the problem to be simple crud*. It happens to all of us. We offer a $10 cleaning service, but perhaps now -with some extra time at home- is a good time to give your feeder a cleaning at home.
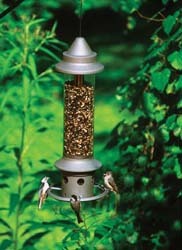
1...Take it all a part. This video shows you how, step by step. The feeder is a different color, but the parts are the same.
2...Once we have the feeder disassembled, we soak the parts in a 1:10 clorox/water solution to truly disinfect. You could also use a 50:50 white vinegar/water solution. We generally let things soak about and hour-ish. Then we rinse, check for problem areas and give them a quick scrub with our feeder brush, and then run them through our dedicated dishwasher. If that thought makes you cringe, just keep on scrubbing. LET THINGS DRY OUT. With all the work you've already done, don't rush this very important step!
3...Reassemble. Carefully. Like most things in life, it's easier to take a part than put back together (just ask Humpty). Here's another step-by-step video to help you through.
4...Applaud yourself! You're keeping your birds healthier by offering cleaner food!
(5...Remember. WBU Cherry Hill is available to help you. Call us if you hit a "bump", we'll call you back as soon as possible)